

Microsoft Azure has recently introduced Azure Resource Manager (or ARM) - a service for centralized deployment and management of resources such as virtual machines, databases, or web applications. While the service is typically accessed via PowerShell or the Azure web portal, you can also configure and deploy sophisticated, multi-tier cloud architectures using ARM templates. In this article, let's take a look at how you can use this tool to quickly deploy a serverless, Node.js-based Forge application to Azure.
What you'll need
You'll need a Microsoft Azure account. If you don't have one, consider the free, 12-month trial: https://azure.microsoft.com/free.
We assume that you already have a Forge account and Forge application credentials. If not, don't worry! You can create an account here, and create an application by following this simple tutorial.
Finally, we need an IDE to work in. In this article we're going to use Visual Studio Code, and these great add-ons right from the Azure team:
- Azure Account (for logging into Azure from within VSCode)
- Azure Functions (for deploying serverless apps)
- Azure Storage (for deploying static websites)
- Azure Resource Manager Tools (for working with ARM templates)
Sample code
We've created an example codebase with a basic Forge application and Azure config files: https://github.com/petrbroz/azure-forge-sample-app. The codebase is roughly structured as follows:
- AccessToken, ListBuckets, and ListModels folders contain the implementation of the 3 endpoints exposed by the application
- public folder includes all client-side assets of the application
- deployment folder includes the Azure Resource Manager template
Clone this repo to your machine, and let's get started!
Step 1: Bootstrapping Azure resources
Go to the Azure portal, use the plus sign in the sidebar to create a new resource, and search for Template deployment.
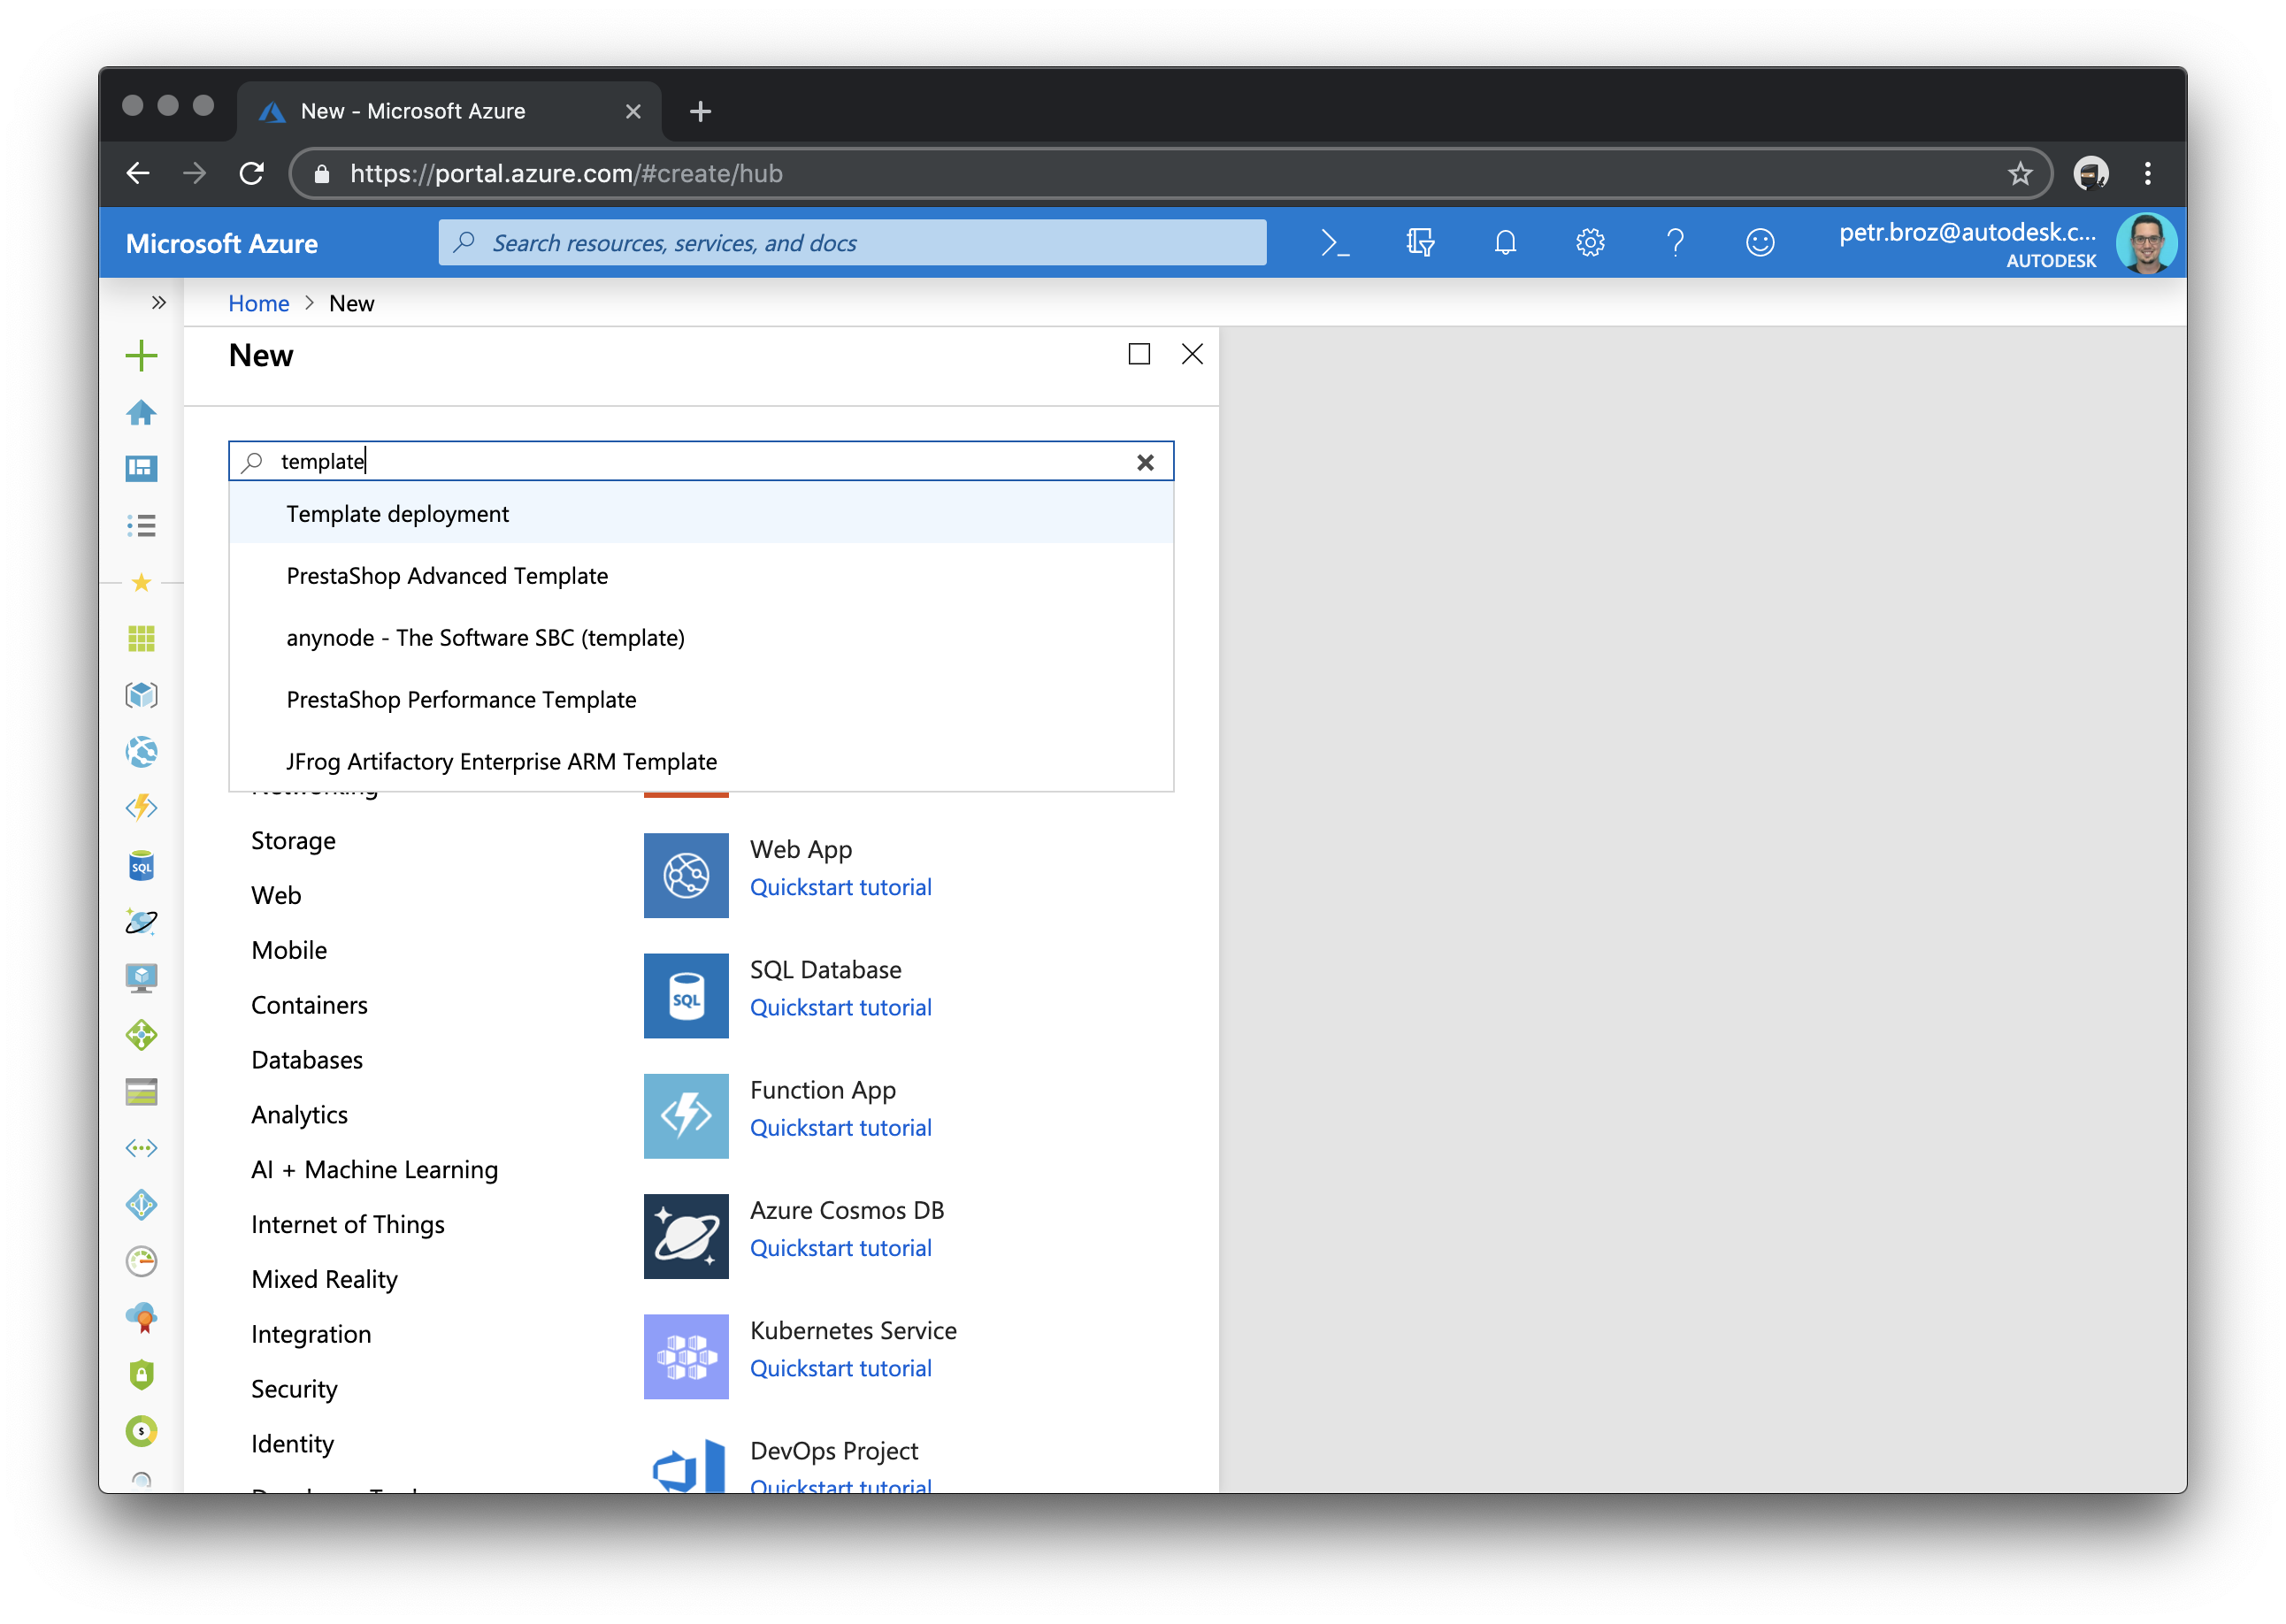
Create new Template deployment.

On the Custom deployment page, choose the Build your own template in the editor option.

On the Edit template page, use the Load file icon to upload the template from our sample codebase: deployment/template.json.

Save the template to continue to the next step. You'll be presented with a page where the new deployment can be configured.

Choose your Azure subscription, server location, and choose or create a resource group.
For more details about resource groups and other terms, please refer to https://docs.microsoft.com/en-us/azure/azure-resource-manager/resource-group-overview#terminology.
Enter a name of your project in the Project_name field. The project name should only consist of lowercase alphabetical letters and dashes, for example, forge-sample. The Forge_client_id and Forge_client_secret fields should be set to your Forge application's credentials. The ARM template will make sure that the credentials are passed to the server-side code in form of env. variables.
Hit the Purchase button to initialize the deployment, and wait for the operation to complete.
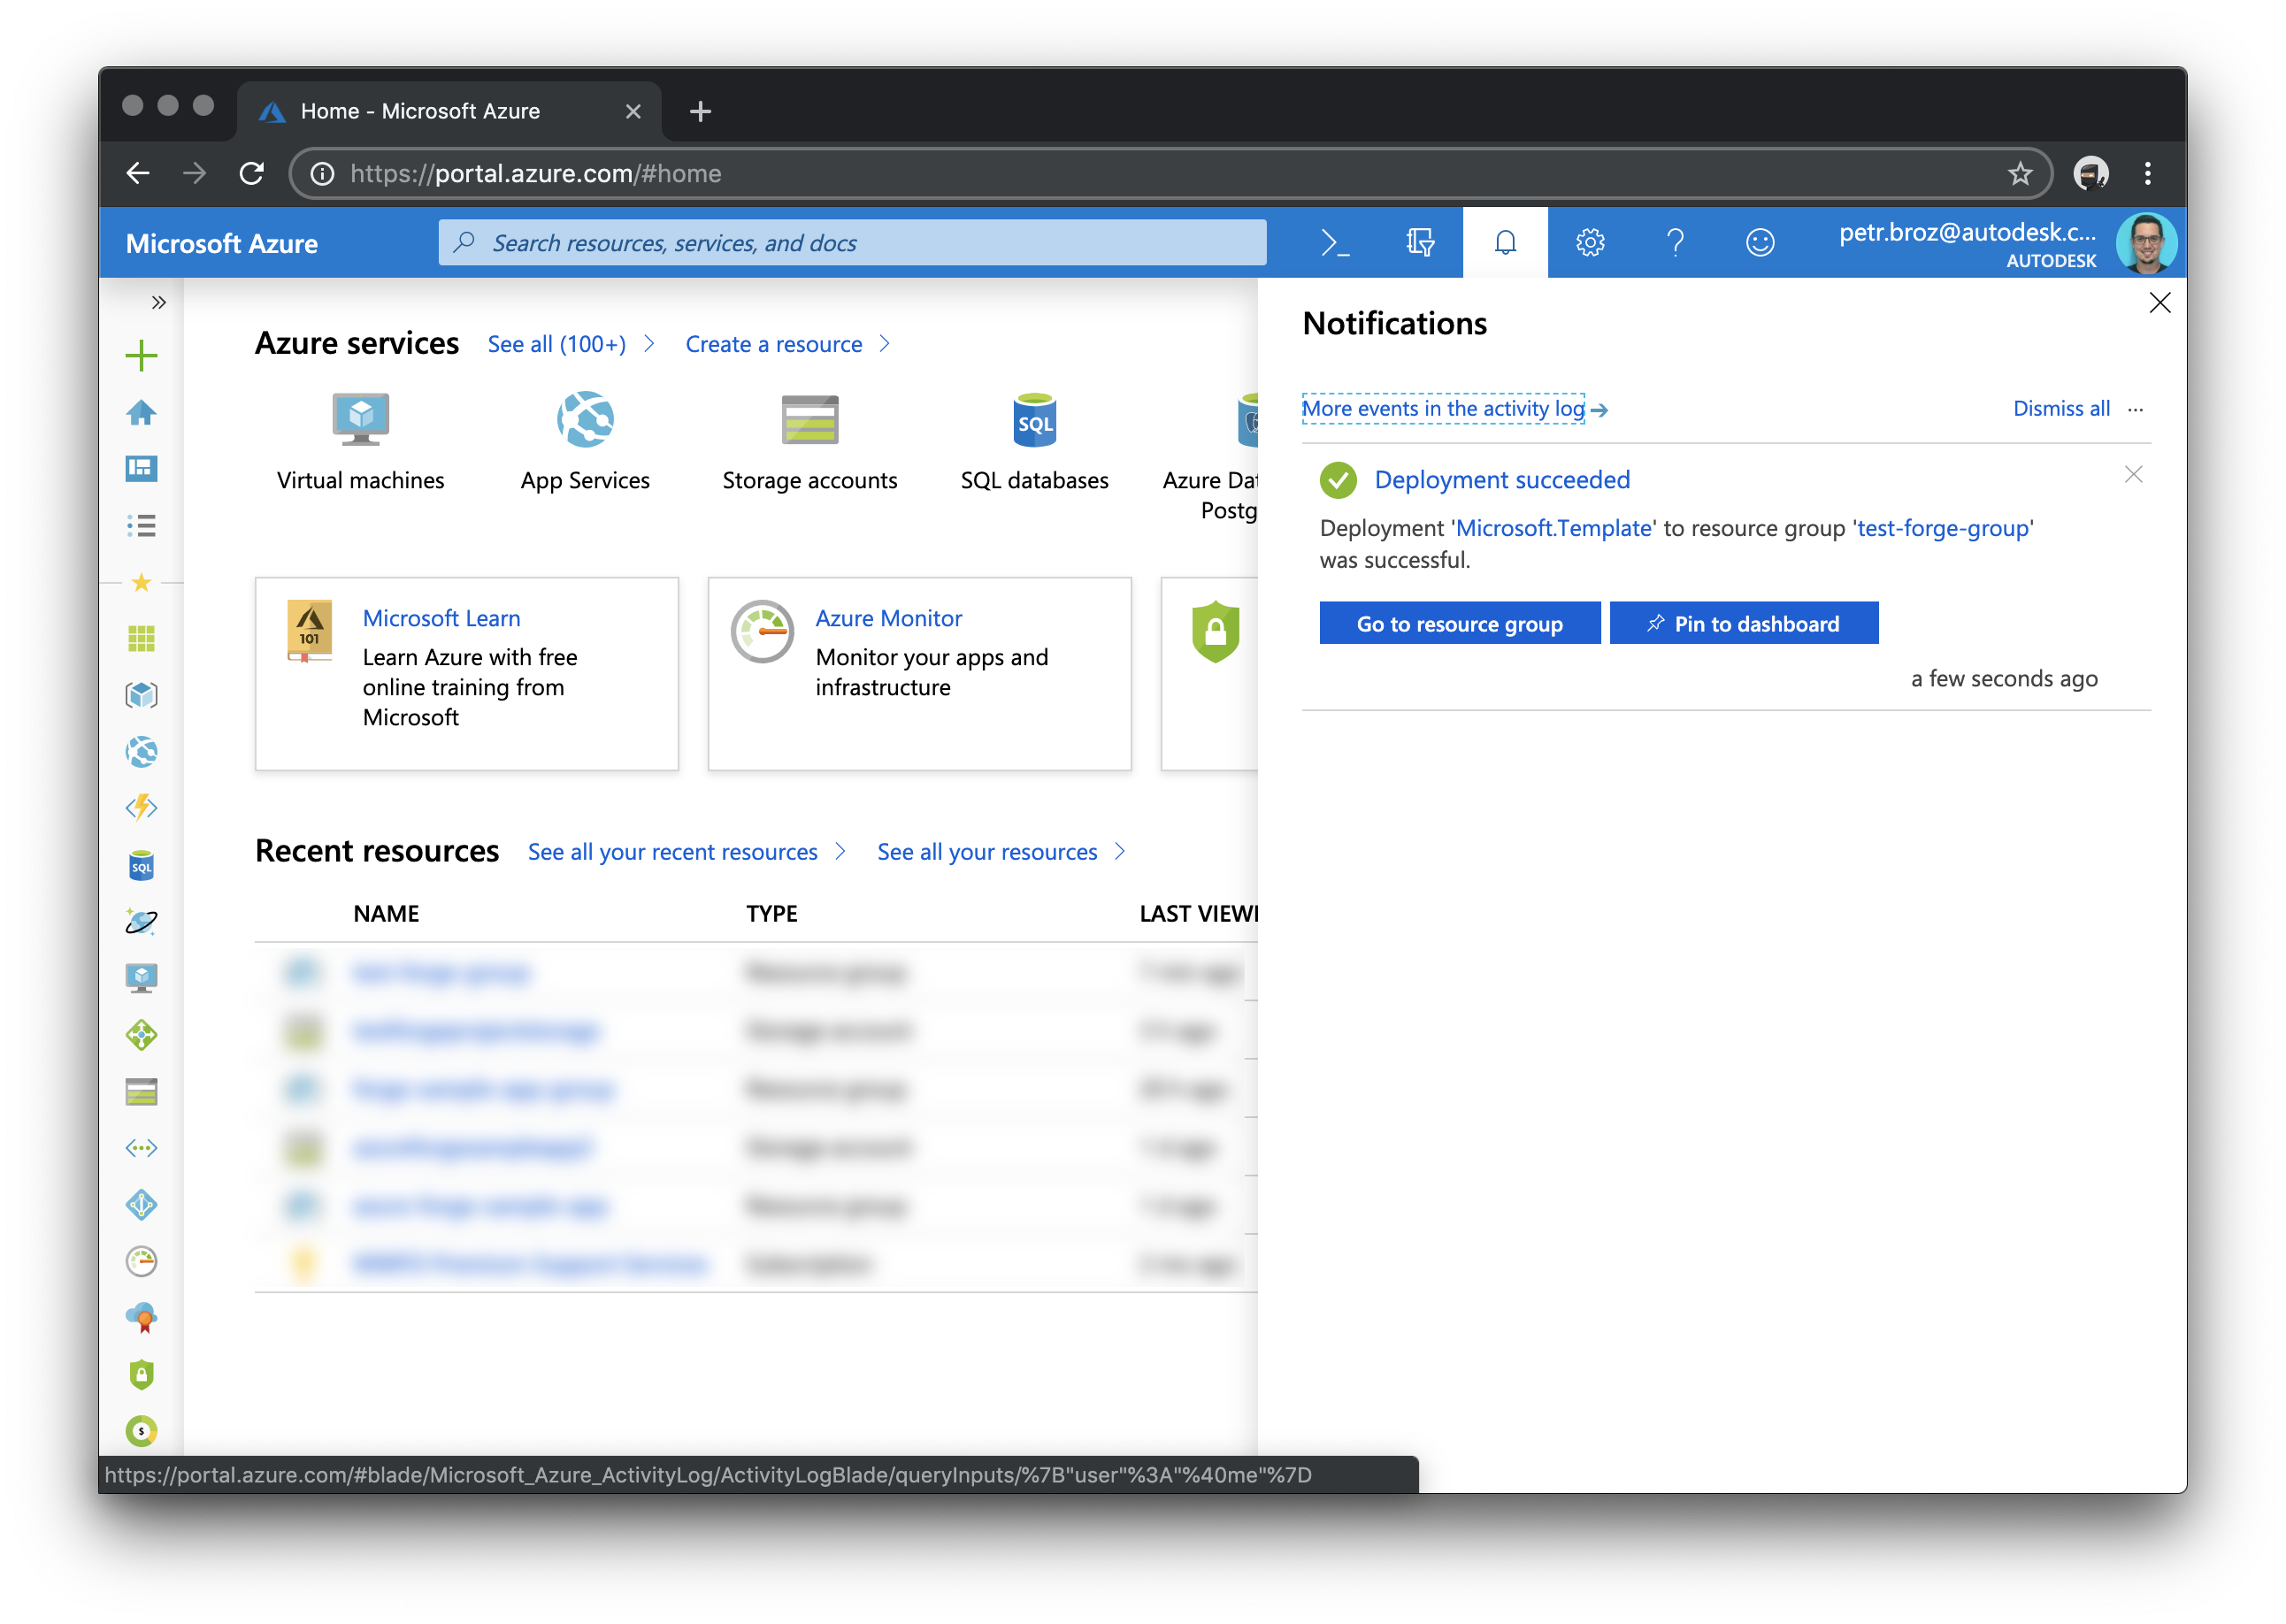
Go to your resource group. You should see 3 new resources: an App Service with an associated App Service plan, and a Storage account. The resources' names are based on the project name you entered during the deployment.
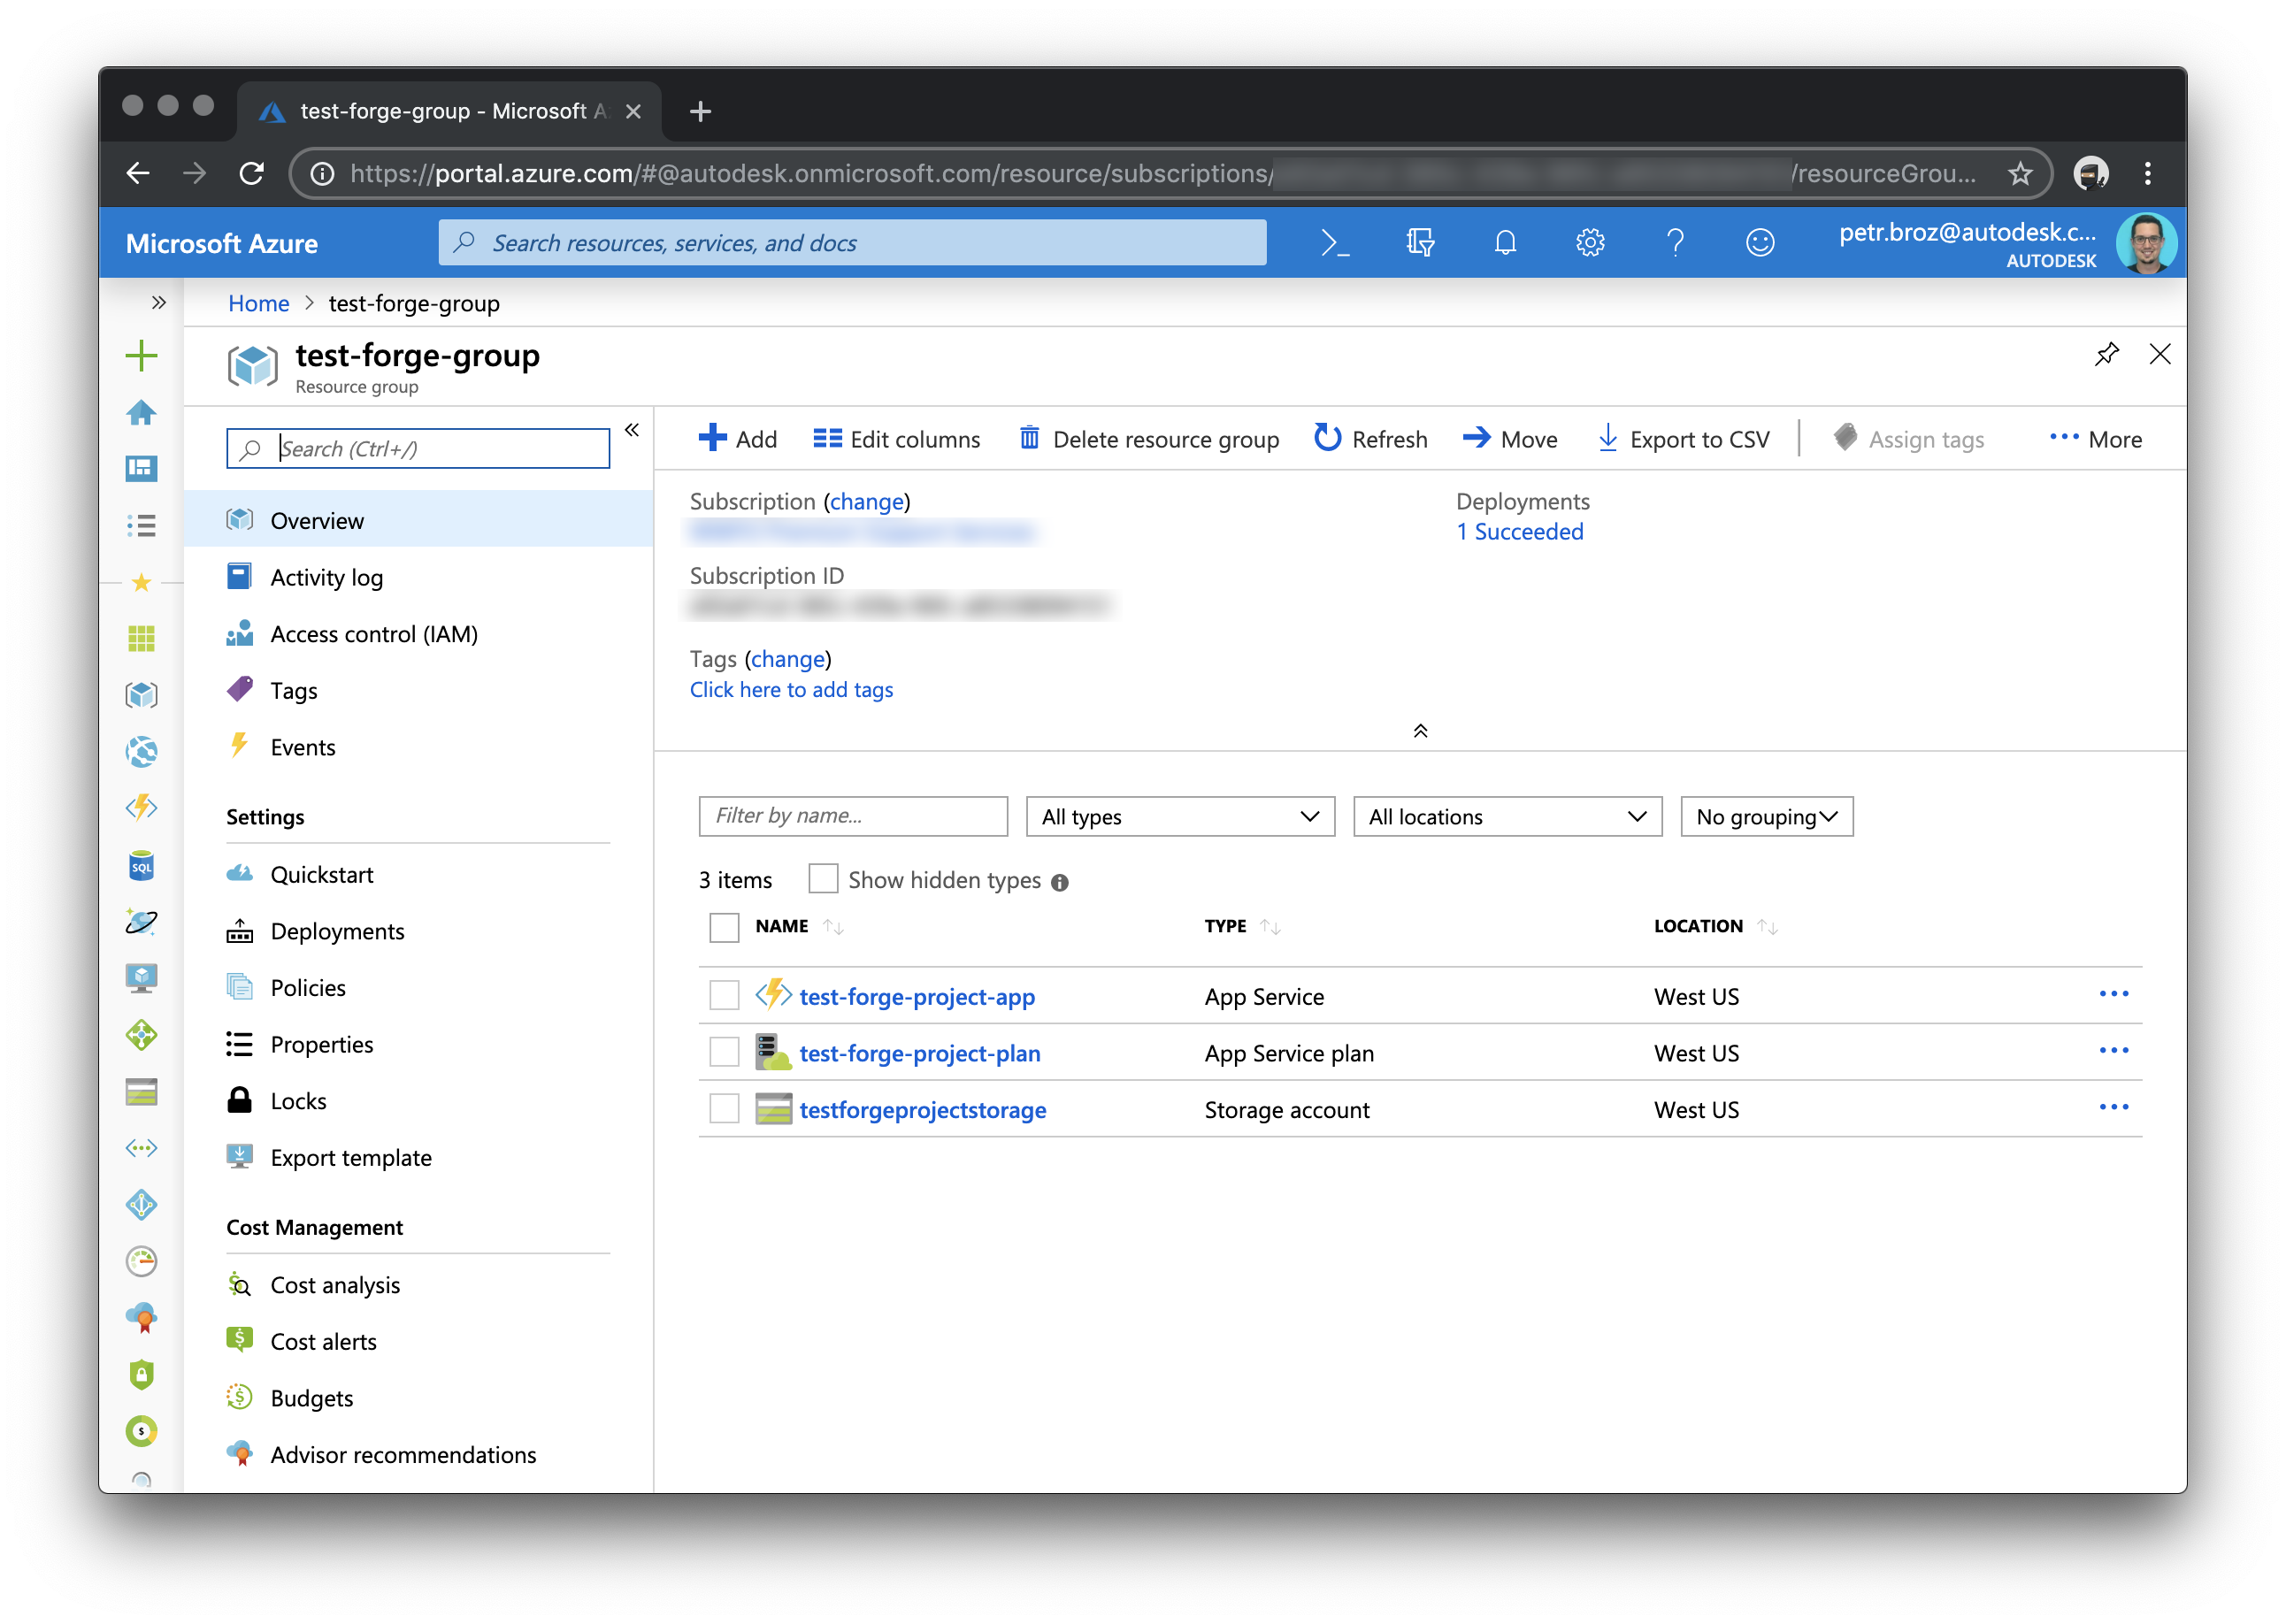
Open the newly created app service, and save its URL - you'll need it in a moment.

Step 2: Deploying Azure Function application
Open the sample codebase folder in Visual Studio Code, and make sure that you're signed into Azure in the editor - your Azure account name should be displayed in the bottom-left corner.
Go to the Azure section of the sidebar (on macOS, press Shift+Command+A). You should see a couple of top-level groups including Functions and Storage.
Find your newly created application in the Functions group, right-click it, and in the context menu, choose Deploy to Function App....
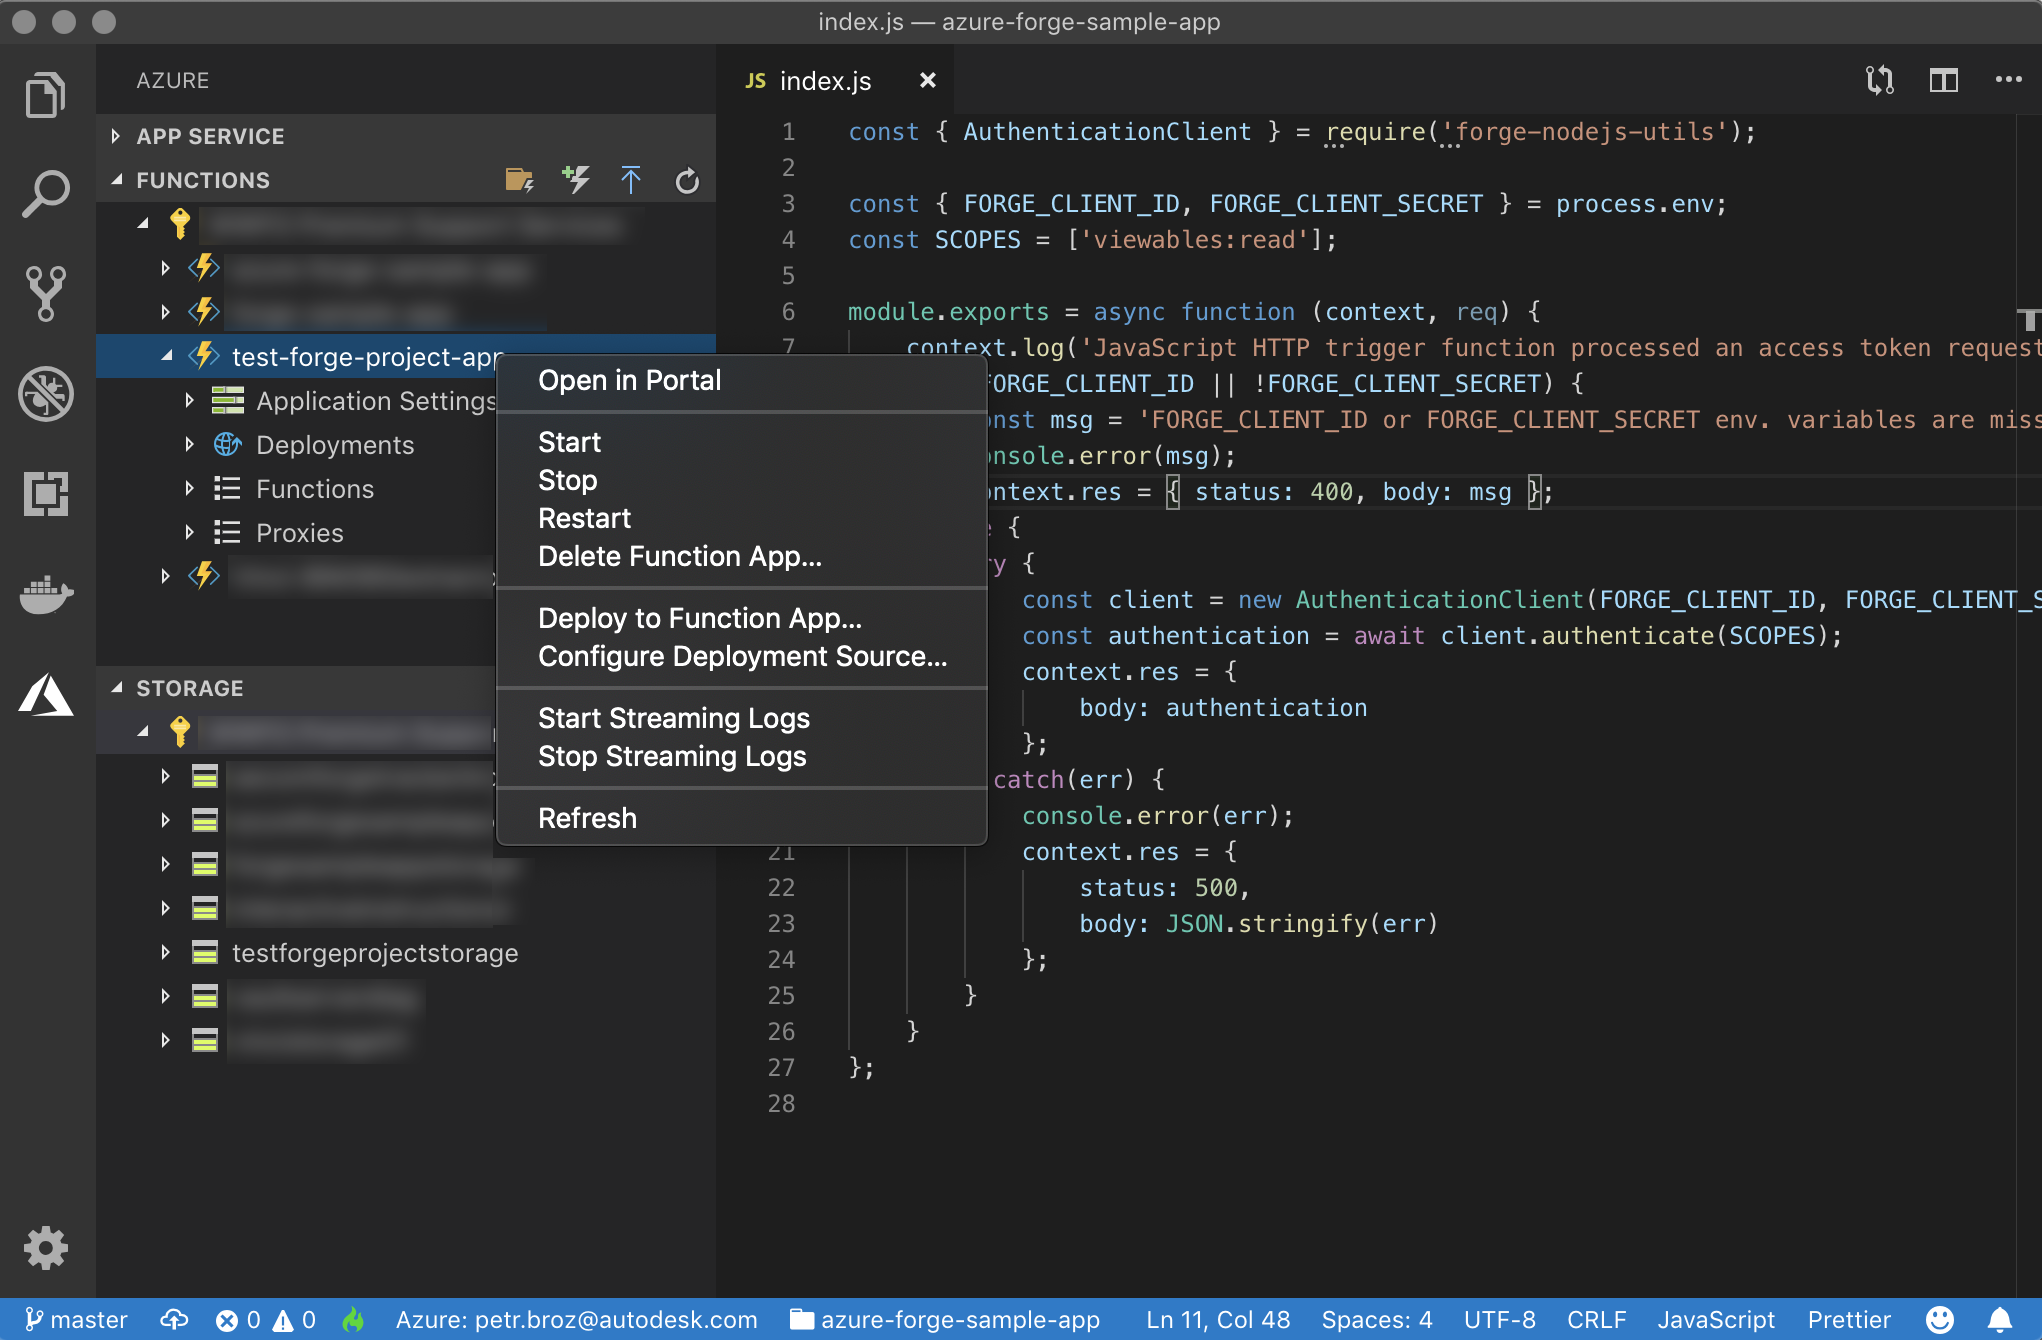
This will find all Azure Functions in our sample code (AccessToken, ListBuckets, and ListModels), and deploy them to your newly created Function Application resource.
Step 3: Deploying static website
Switch back to the Explorer section in the sidebar (on macOS, press Shift+Command+E).
Go to the public/viewer.js file, locate the API_HOST constant, and update it with your Azure Function application's URL (obtained in Step 2).
Right-click the public folder, and in the context menu, choose Deploy to Static Website.... Choose the storage account that was created in Step 1.

When deploying for the first time, the editor might ask whether you want to enable static website hosting for this storage account, and for some additional configuration options. You can use the default options everywhere.
That's it! You now have a simple Forge application with static assets hosted on Azure Storage, and a couple of endpoints handled in a serverless fashion using Azure Functions. To find the URL of your static website hosting, go to the Azure sidebar section, locate your storage account in the Storage group, right-click it, and choose Browse Static Website.