
Using PointCloud in the Forge Viewer is possible, however not all approaches will work. After a bit of fiddling around, I could get a combination that works fine: The Three.js entity to insert in the scene is named THREE.PointCloud, which has been renamed to THREE.Points in the latest releases, however the Forge Viewer is using an older version (r71). You can use a THREE.PointCloudMaterial for that entity, unfortunately the Viewer renderer will not like it, so I had to use a THREE.ShaderMaterial and implement a custom shader. Also the renderer will not accept THREE.BufferGeometry, which is accepted only for THREE.Mesh instances. So use a plain THREE.Geometry object.
A PointCloud instance will allow you to display a large number of points and potentially animate them independently while keeping a decent frame rate comparing to displaying the points using separate meshes because only a single instance is being rendered.
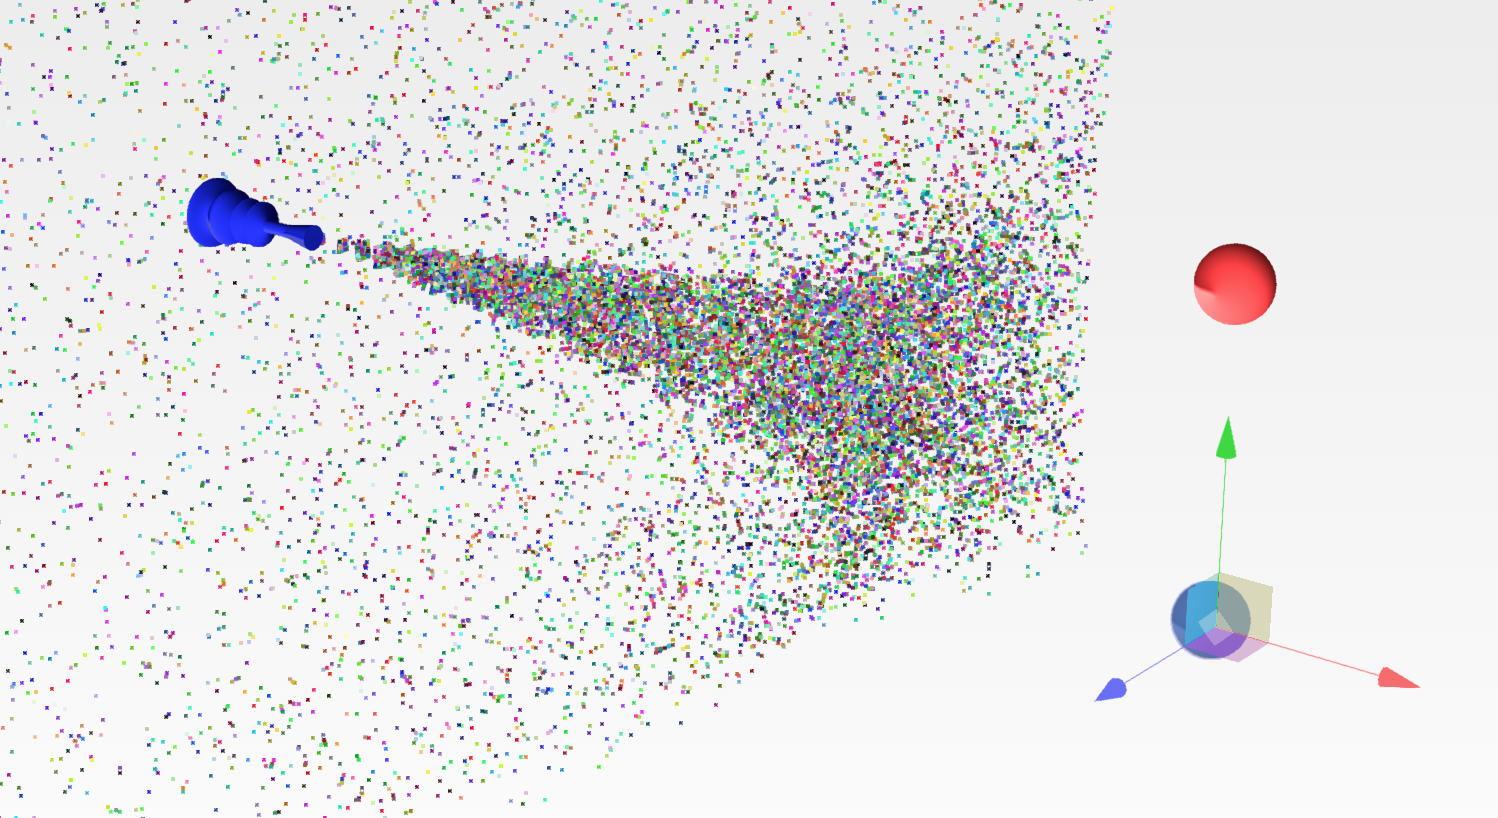
To make the demo more exciting I used one of my previous sample involving a custom particle system and used the PointCloud entity to render and animate all particles at once. You can see in the video below that even when increasing the number of particles to 1Million, you can maintain a relatively hight FPS hence keeping the simulation smooth. I wanted to give each particle a potentially different random colour, so I could achieve that by using the shader attributes. Attributes have a one-to-one mapping to the entity vertices.
Here is how the method that generates the PointCloud with my custom shader looks like:
/////////////////////////////////////////////////////////////
// Creates 1M vertices PointCloud supported by Forge Viewer
//
/////////////////////////////////////////////////////////////
createPointCloud (maxPoints = 1000000) {

  // Vertex Shader code
  const vertexShader = `
    attribute vec4 color;
    varying vec4 vColor;
    void main() {
      vec4 vPosition = modelViewMatrix * vec4(position, 1.0);
      gl_Position = projectionMatrix * vPosition;
      gl_PointSize = 4.0;
      vColor = color;
    }
  `

  // Fragment Shader code
  const fragmentShader = `
    #ifdef GL_ES
    precision highp float;
    #endif
    varying vec4 vColor;
    void main() {
      gl_FragColor = vColor;
    }
  `

  // Shader material parameters
  this.shader = {
    side: THREE.DoubleSide,
    depthWrite: false,
    depthTest: false,
    fragmentShader,
    vertexShader,
    attributes:{
      color: {
        type: 'v4',
        value: []
      }
    }
  }

  // Initialize geometry vertices
  // and shader attribute colors
  this.geometry = new THREE.Geometry()

  for(var i = 0; i < maxPoints; ++i) {

    this.geometry.vertices.push(
      new THREE.Vector3(-5000, -5000, -5000))

    this.shader.attributes.color.value.push(
      new THREE.Vector4(
        Math.random(),
        Math.random(),
        Math.random(),
        1.0)
    )
  }

  // creates shader material
  const shaderMaterial =
    new THREE.ShaderMaterial(
      this.shader)

  // creates THREE.PointCloud
  this.pointCloud = new THREE.PointCloud(
    this.geometry, shaderMaterial)

  // adds to the viewer scene
  this.viewer.impl.scene.add(this.pointCloud)

  // triggers refresh
  this.viewer.impl.invalidate(true)
}
The complete demo can be found at Viewing.Extension.Particle, here is a link to the live demo and a recording the demo in action when running at full capacity with a million points in the system. You need to select the particle emitter in order to display its properties in the panel and increase the values. Hope you like it!